title: Group Krajewski Hoa others summary: Group assignment for Embedded Programming week show_authors: true authors: - name: Miglio Krajewski email: Miglio.Krajweski@student.oulu.fi - name: Lý Thái Hoà email: Hoa.Ly@student.oulu.fi - name: Hadi Rezaeikarjani email: Hadi.Rezaeikarjani@student.oulu.fi
Tools
Here the toolchains required for programming the XIAO-RP2040 with micropython and C++/Arduino C are explained. For micropython two toolchains, Block Python and Thonny, are described, whilst for C++ only Arduino is described.
Micropython - Thonny
First, Thonny was downloaded. After downloading and openning Thonny, the interpreter was configured for the development board/Microcontroller.
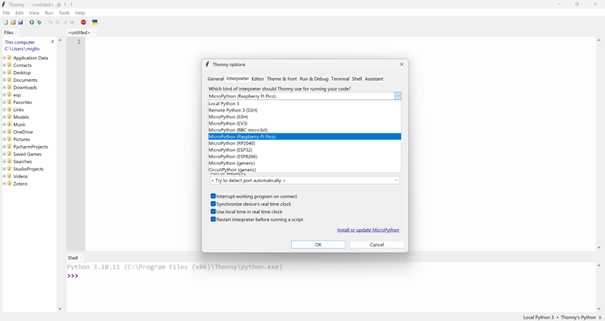
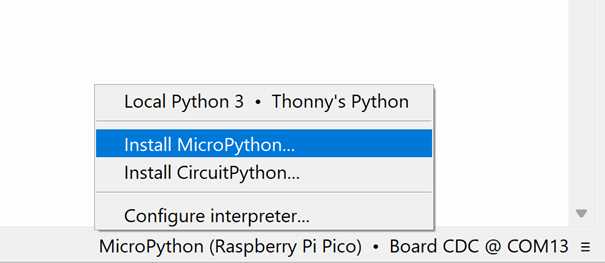
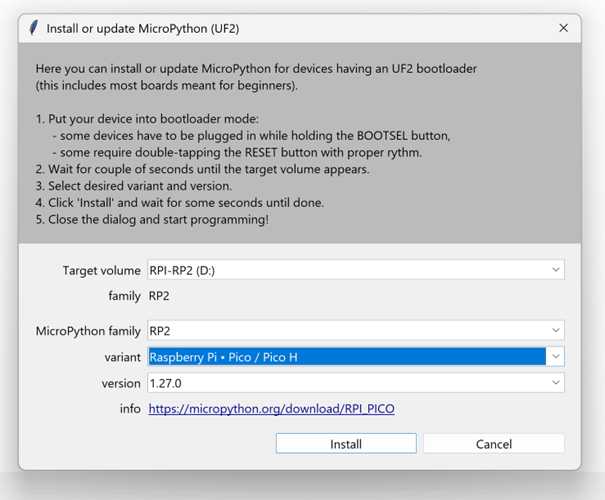
Subsequently, micropython was installed on the microcontroller. This can be done by clicking on the three bars in the bottom right, after connecting the PCB in boot mode (connection with "boot" pressed). The correct microcontroller must be selected for the installation.
Then the board was added to the IDE
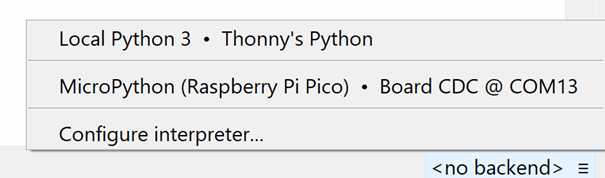
The microcontroller can now be addressed or programmed using Thonny. To test this, the console was first used to write commands to the microcontroller.

The successful transmission of the code was confirmed by observing the inbuilt LEDs. Code is normally written in the larger text field, where it can be either run from Thonny (as an entire code rather than line by line, as is the case in the console; note: as python is an interpreter language, it is always run line by line, however the console only allows for entering one line at a time) or saved as a file on the microcontroller.
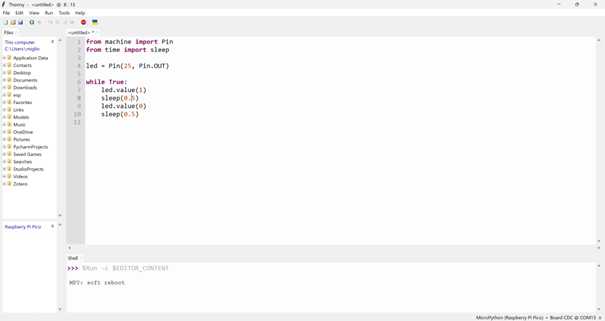
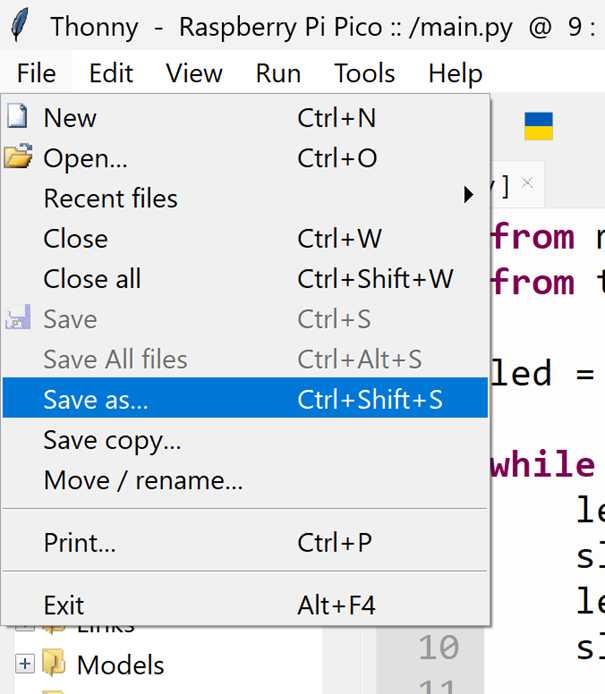
Saving the code to the microcontroller works the same way as saving any file does.
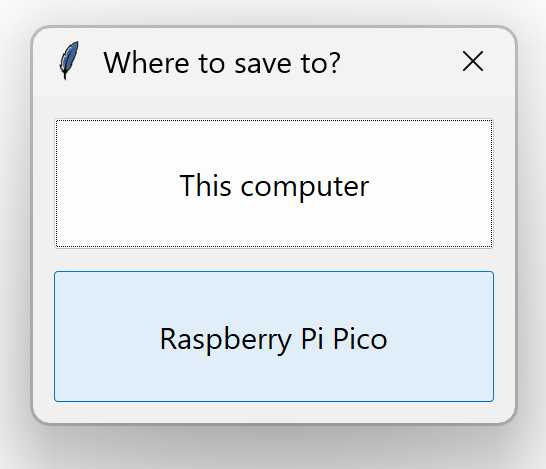
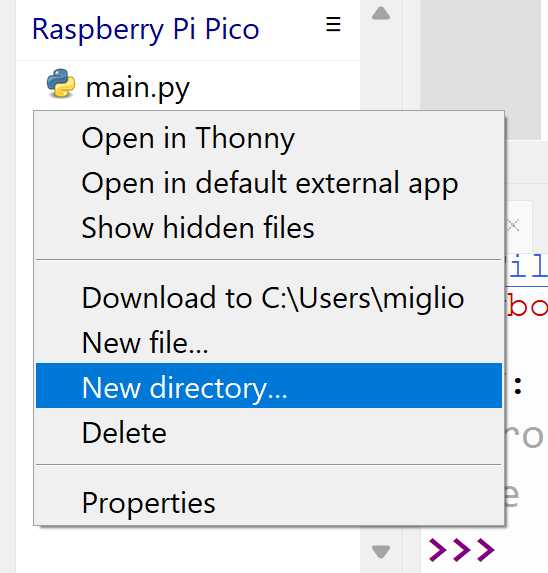
Generally running code also requires libraries. These must be saved to the microcontroller too. A folder named "lib" is used to store the library files.
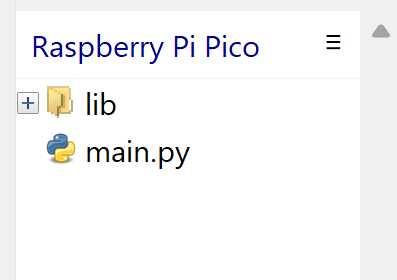
In order to run main.py from the board, a reset is required. This can be initiated by holding down the reset button until the microcontroller disconnects from Thonny. The process is then executed by running main.py from flash memory.
Block Python
First I visited the seeed studio wiki to learn how to use microblock. Then I followed the guide to download the firmware:
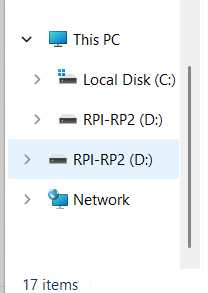
"To enter bootloader mode, hold down the B (boot) button while clicking the R (reset) button. All three LEDs will light and a virtual USB drive named RPI-RP2 will appear."
A virtual USB drive named RPI-RP2 appeared on my computer:
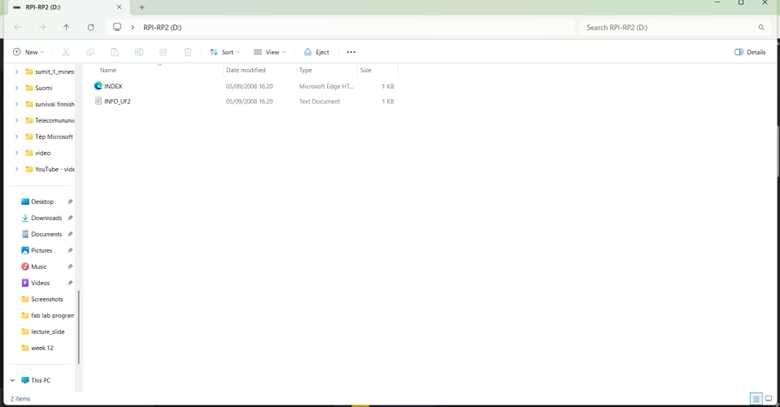
Then I dragged the RP1-RP2 .

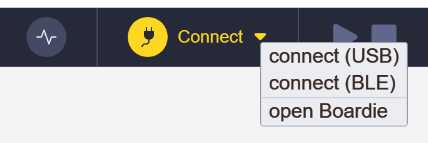
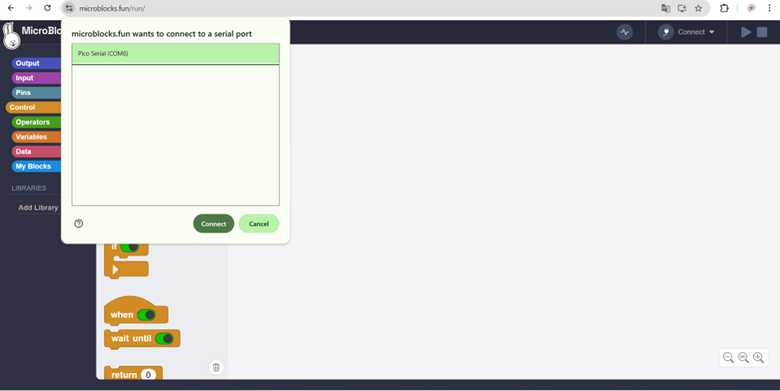
After that, I chose “connect (USB)” on a website.
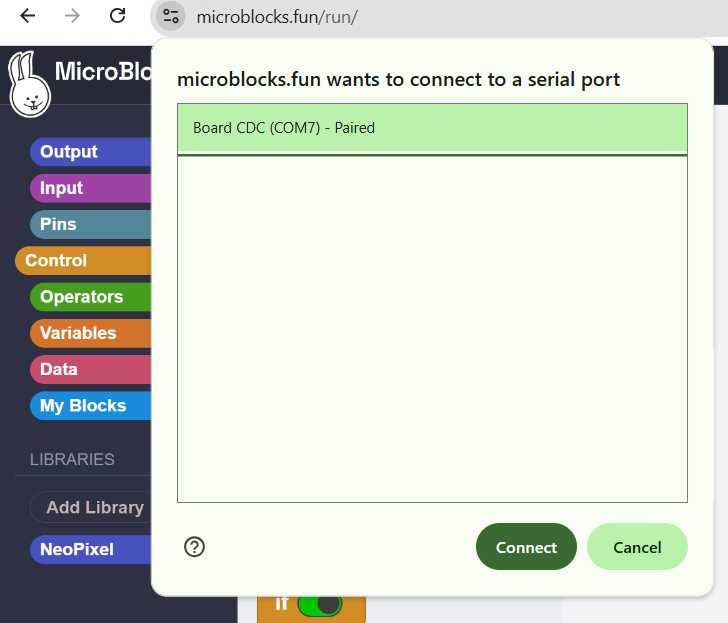
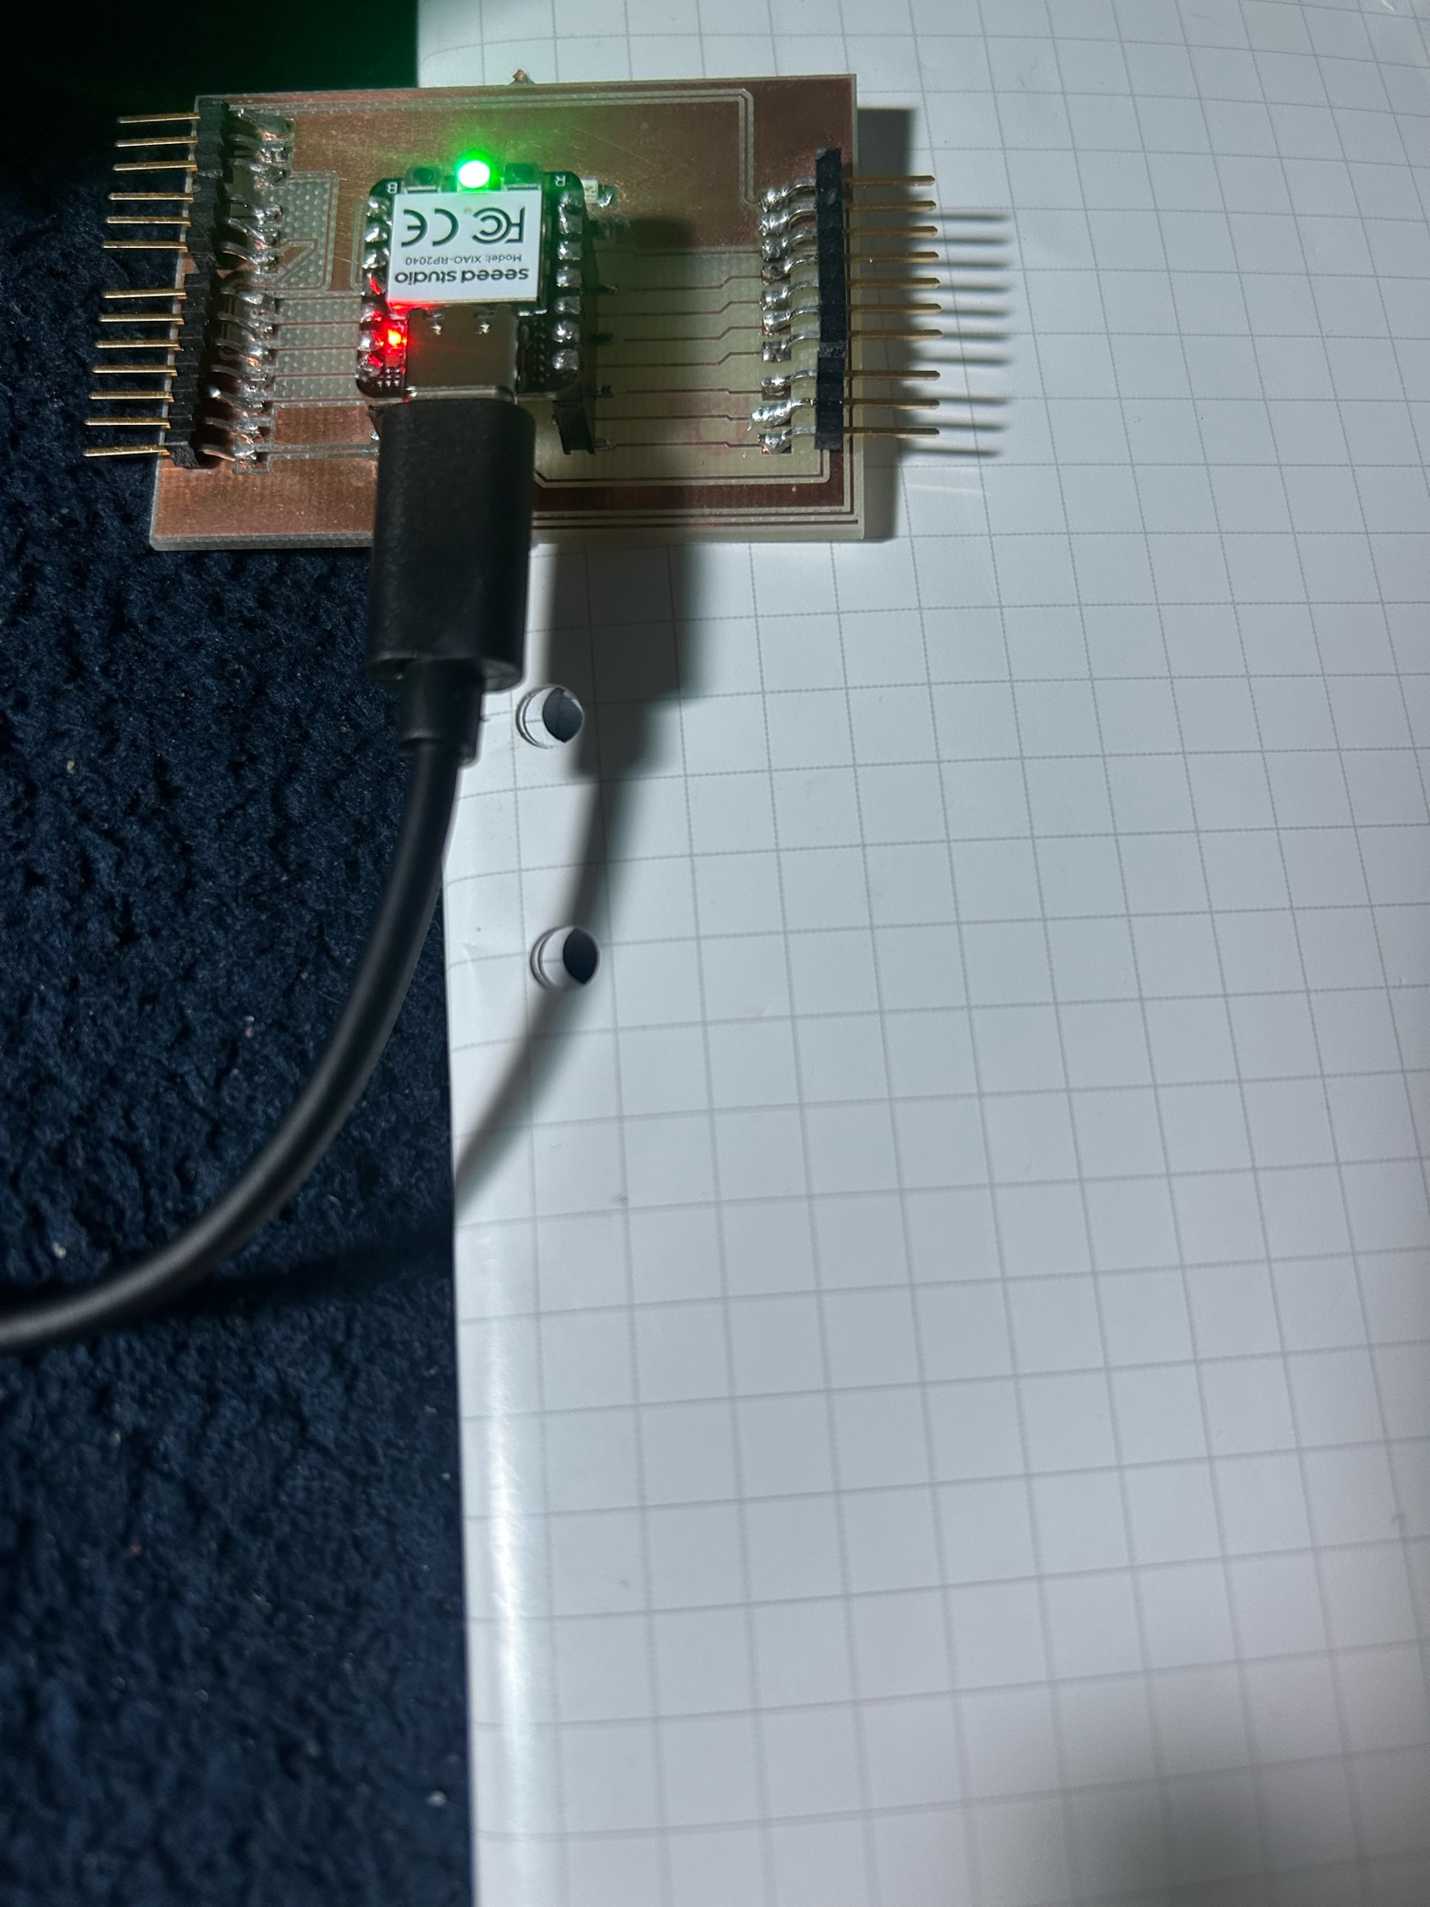
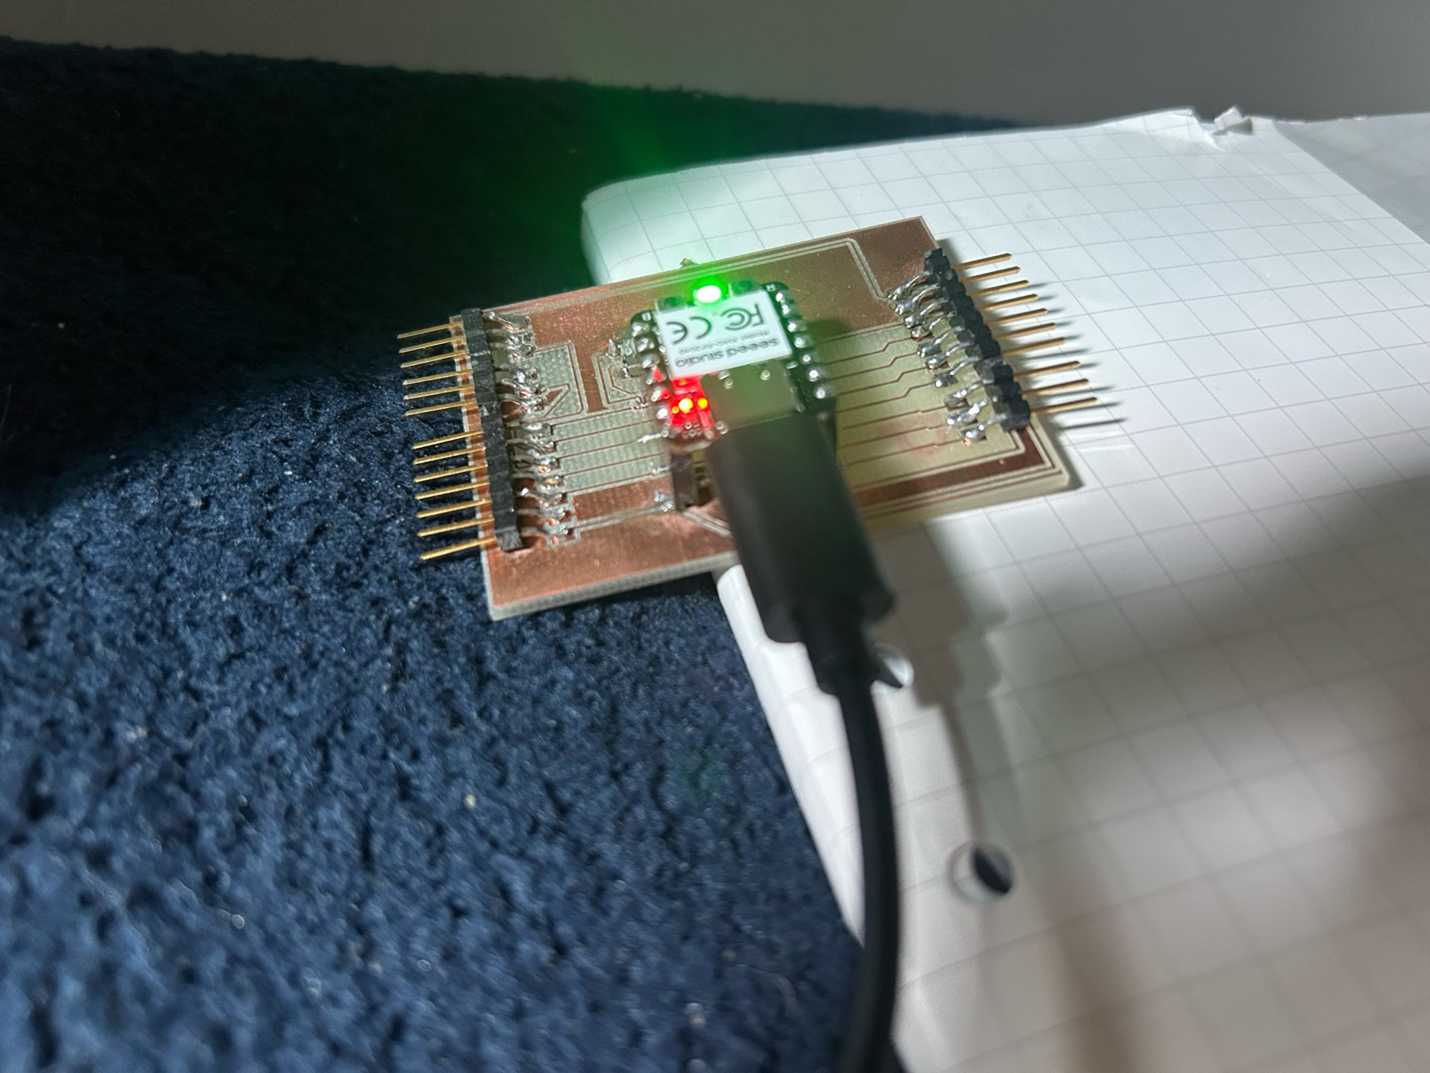
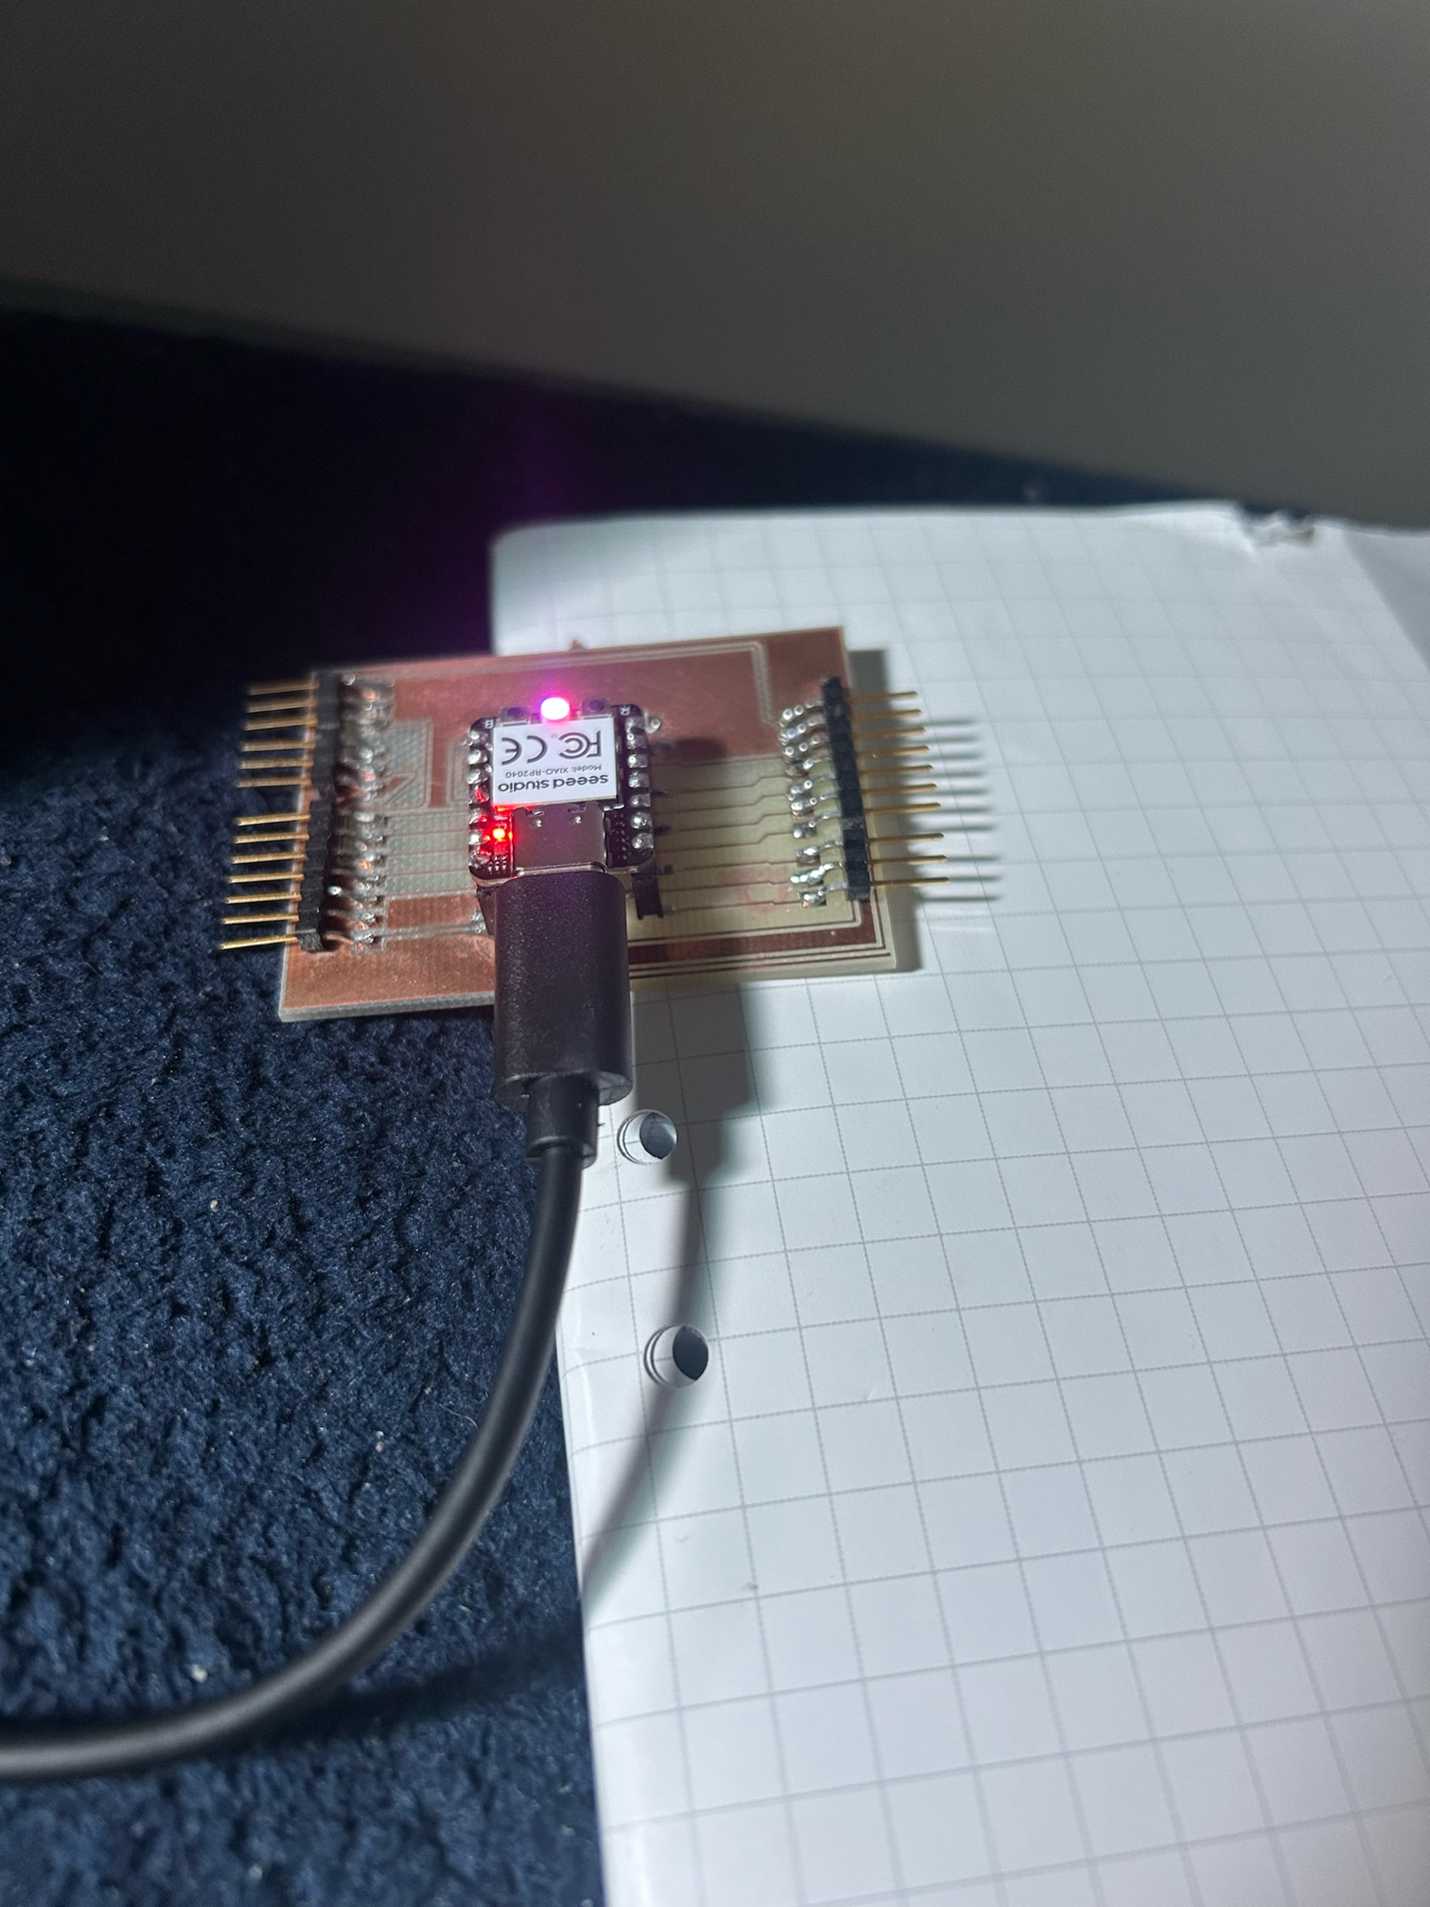
Two LEDs lit up, one in green, one in red. The green one blinked.
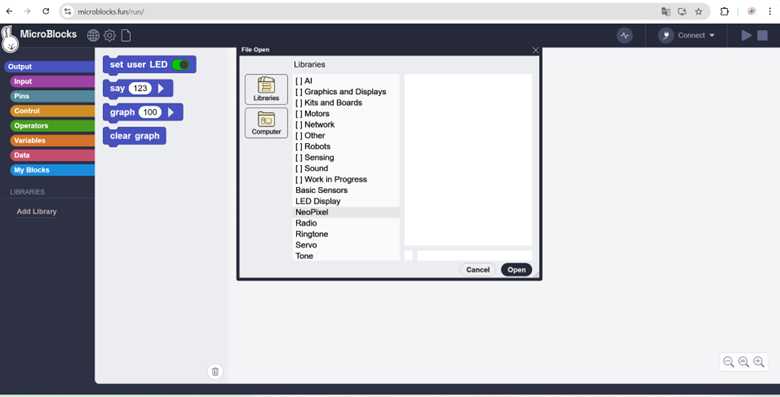
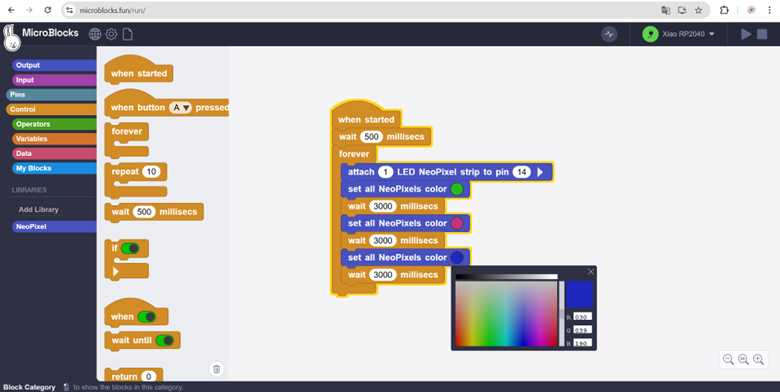
The neopixel library was added on the microblocks webpage:
The board was selected
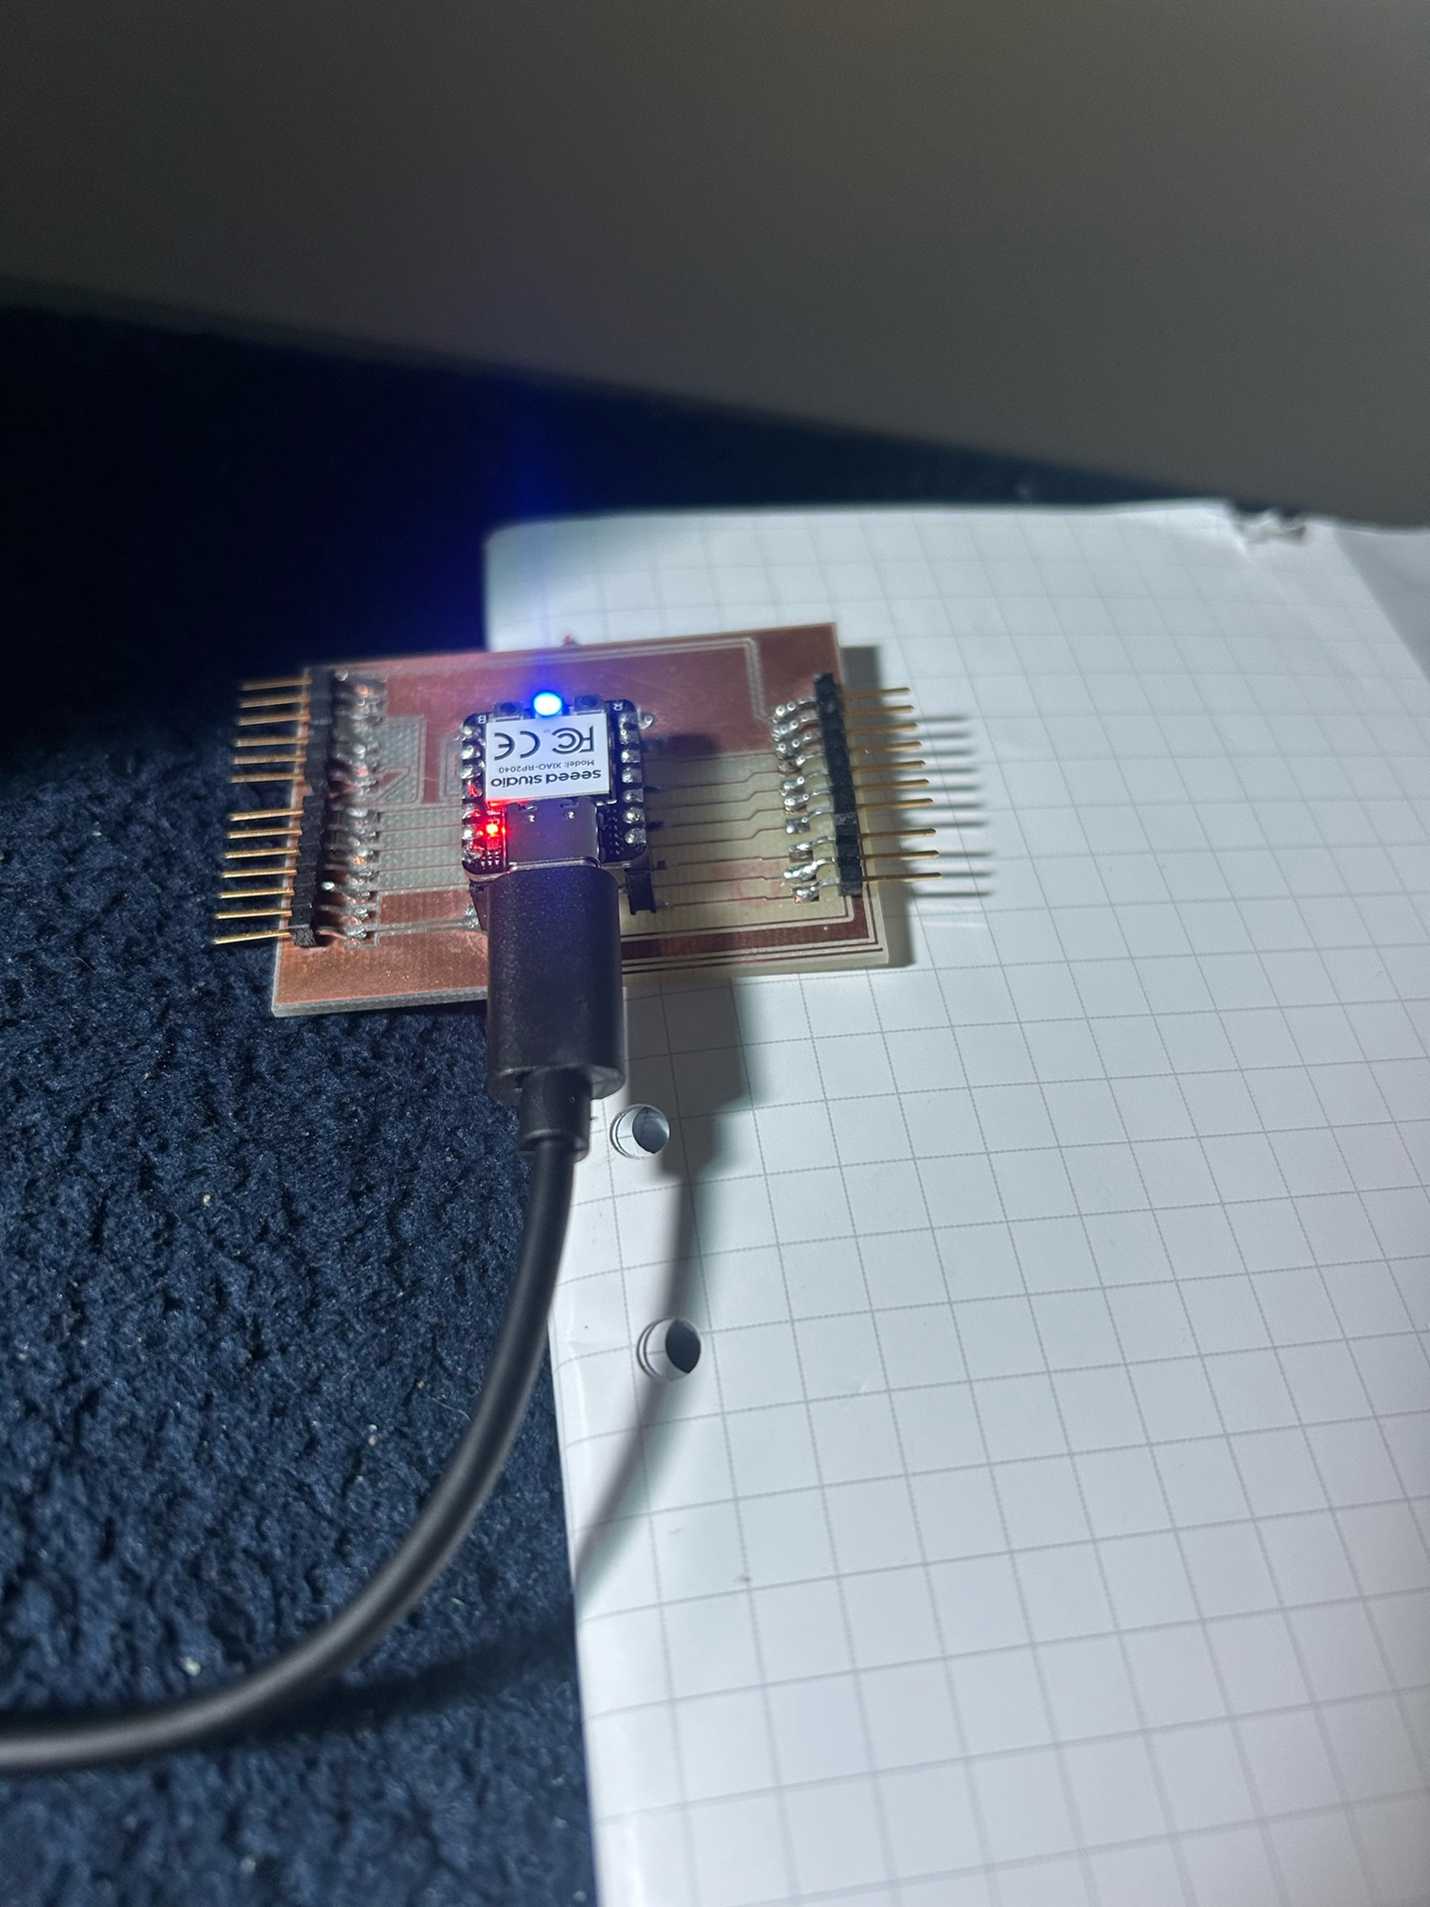
The LED was programmed to change colour every 3 seconds
Arduino
1. Installation and Environment Configuration
The first phase involved downloading the official Arduino IDE and configuring the software to recognize the specific microcontroller hardware.
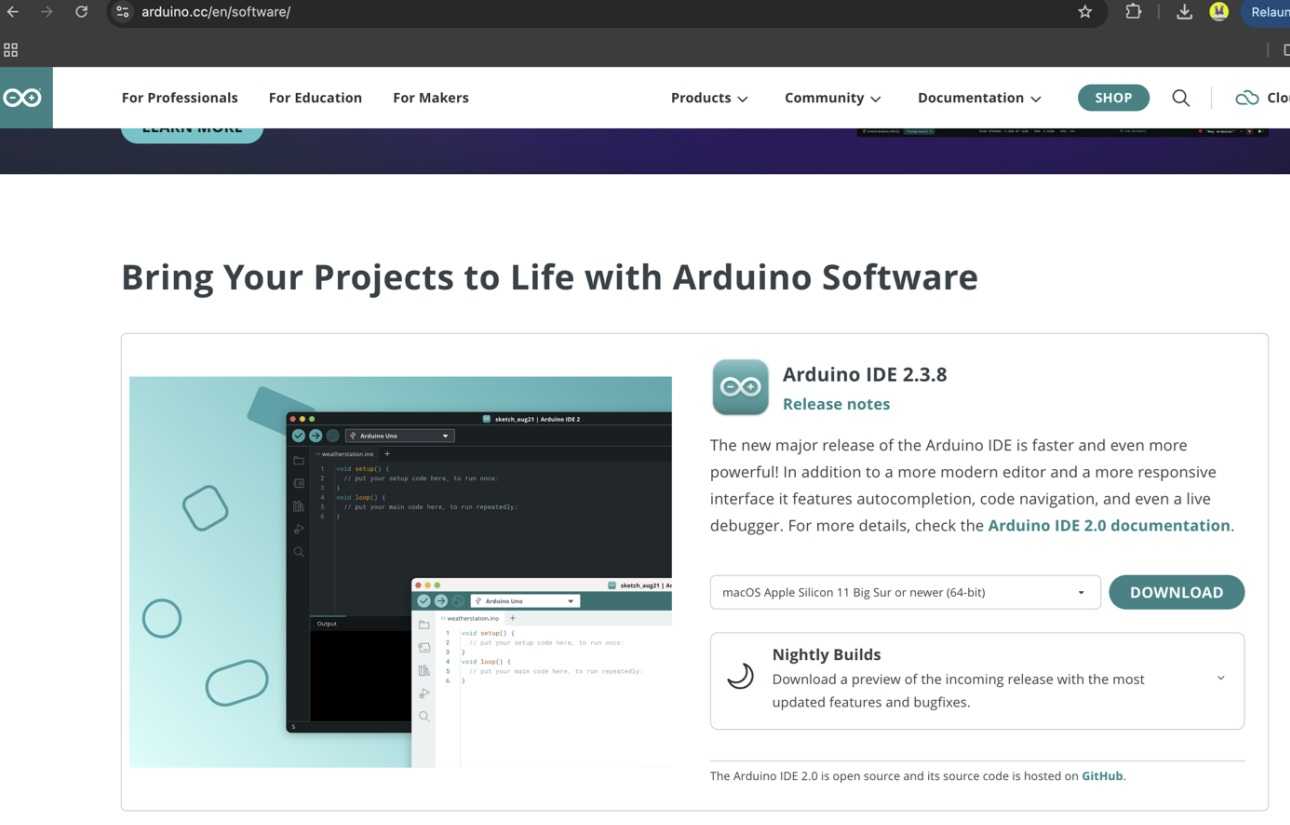
- Download the latest Arduino IDE version from the official website.
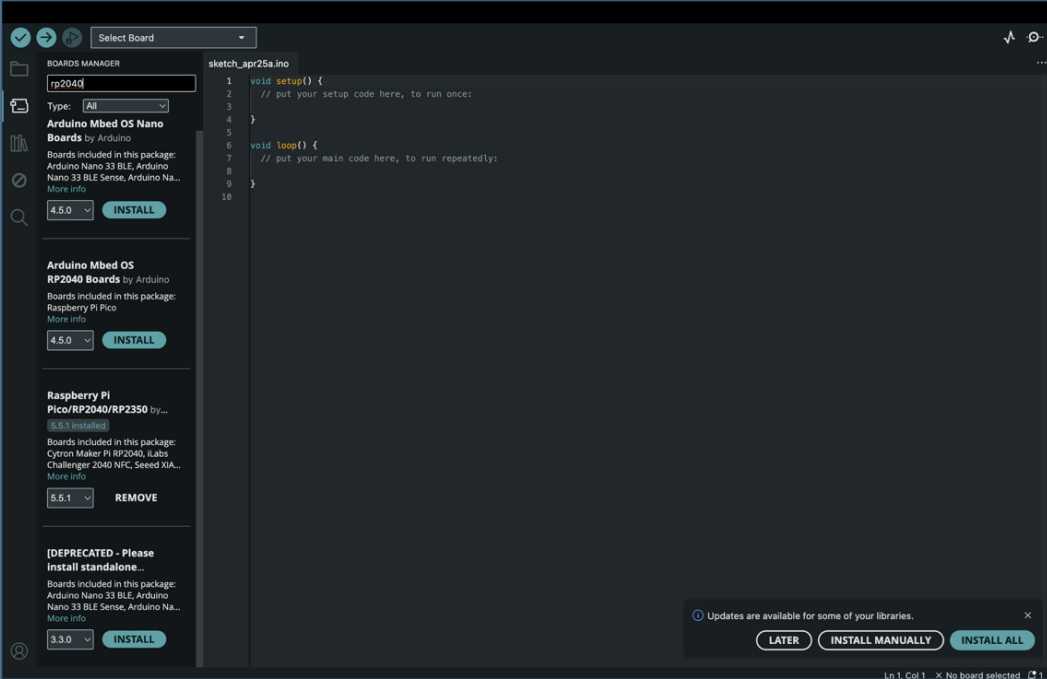
- Install necessary board managers (e.g., ESP32 or RP2040 support) via the Boards Manager tool.
2. Hardware Connection & Port Selection
To establish communication between the PC and the hardware, the correct COM port and board model must be selected.
- Board Selected: Xiao RP2040
- Port: dev/ttyUSB0
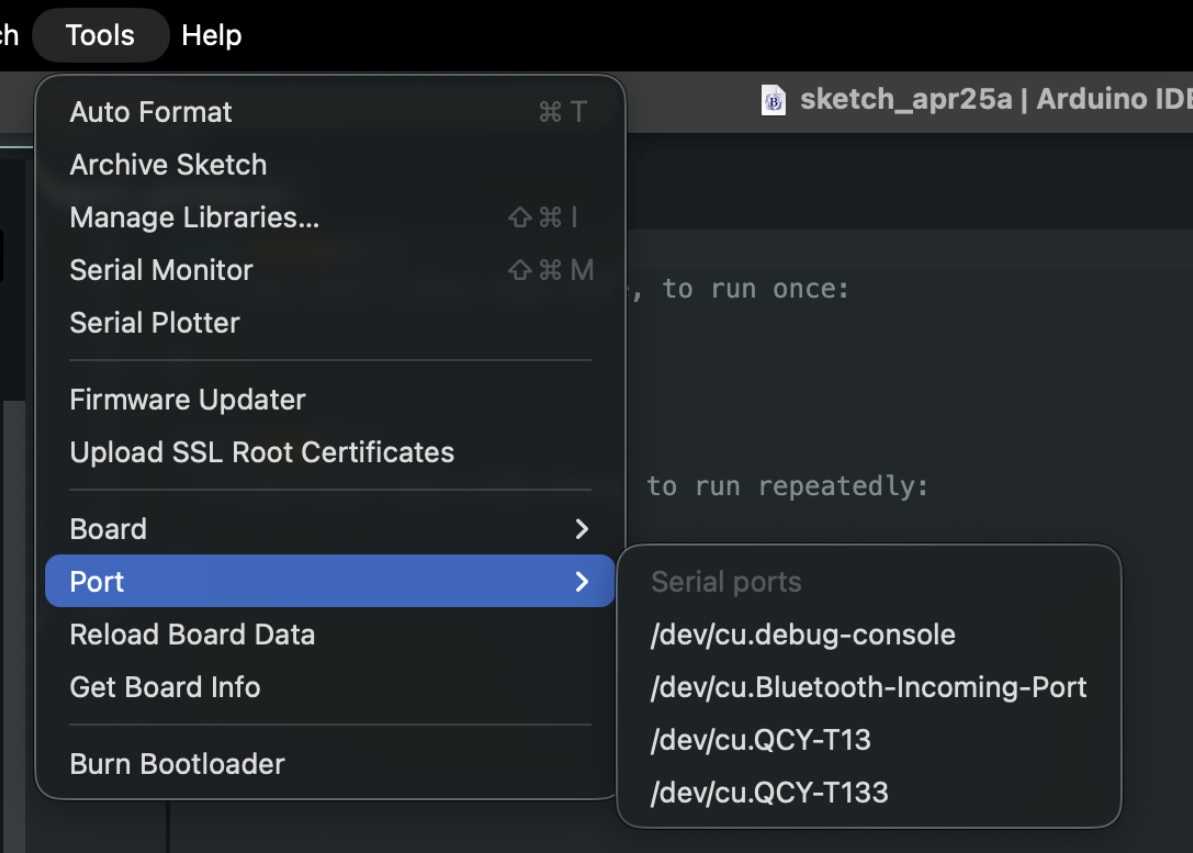
3. Initial Code Implementation (The "Blink" Test)
To verify the installation was successful "from scratch," a basic Blink sketch was used to test the compiler and the physical connection.
´´´ // Basic Blink Sketch void setup() { pinMode(LED_BUILTIN, OUTPUT); } void loop() { digitalWrite(LED_BUILTIN, HIGH); delay(1000); digitalWrite(LED_BUILTIN, LOW); delay(1000); } ´´´
4. Compilation and Uploading
The final verification step is checking for syntax errors and flashing the firmware onto the chip.
- Compilation: The "Verify" button was used to ensure the code was bug-free.
- Upload: The "Upload" button transferred the binary file to the microcontroller.
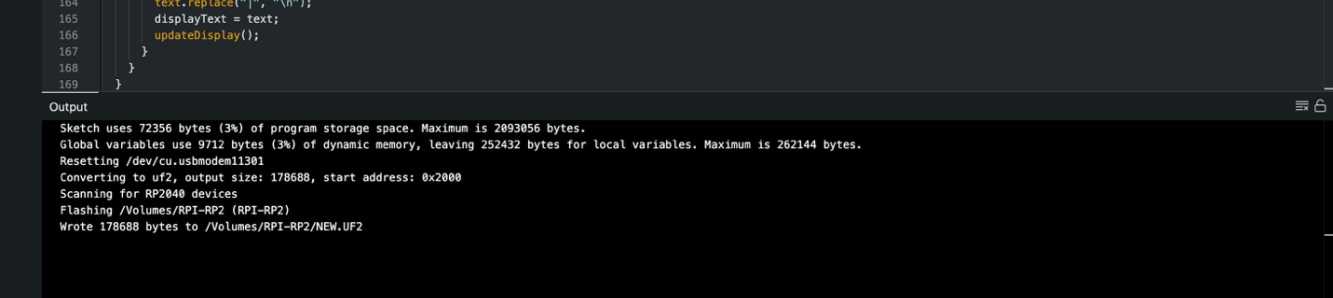
5. Physical Verification
Upon successful upload, the hardware responded according to the programmed logic.
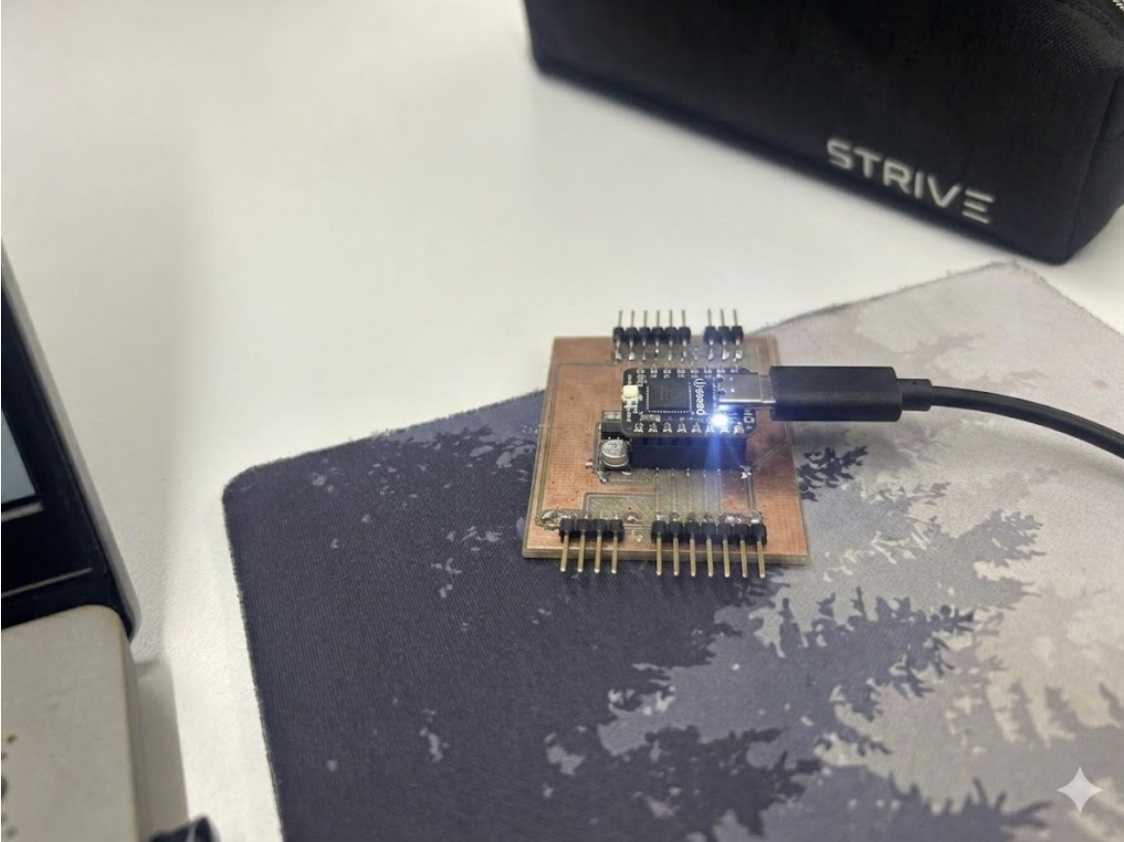
The Arduino environment was successfully installed, configured, and tested. The communication link between the software IDE and the hardware is fully operational, allowing for more complex development in future phases.